How We Edit Our Travel Photos In Adobe Lightroom
How to edit in Lightroom is a question we’re often asked. This guide aims to answer this question with a step by step walkthrough of Adobe Lightroom, and includes ways in which to improve your workflow, speed up your editing, or understand how we edit using our custom Lightroom presets.
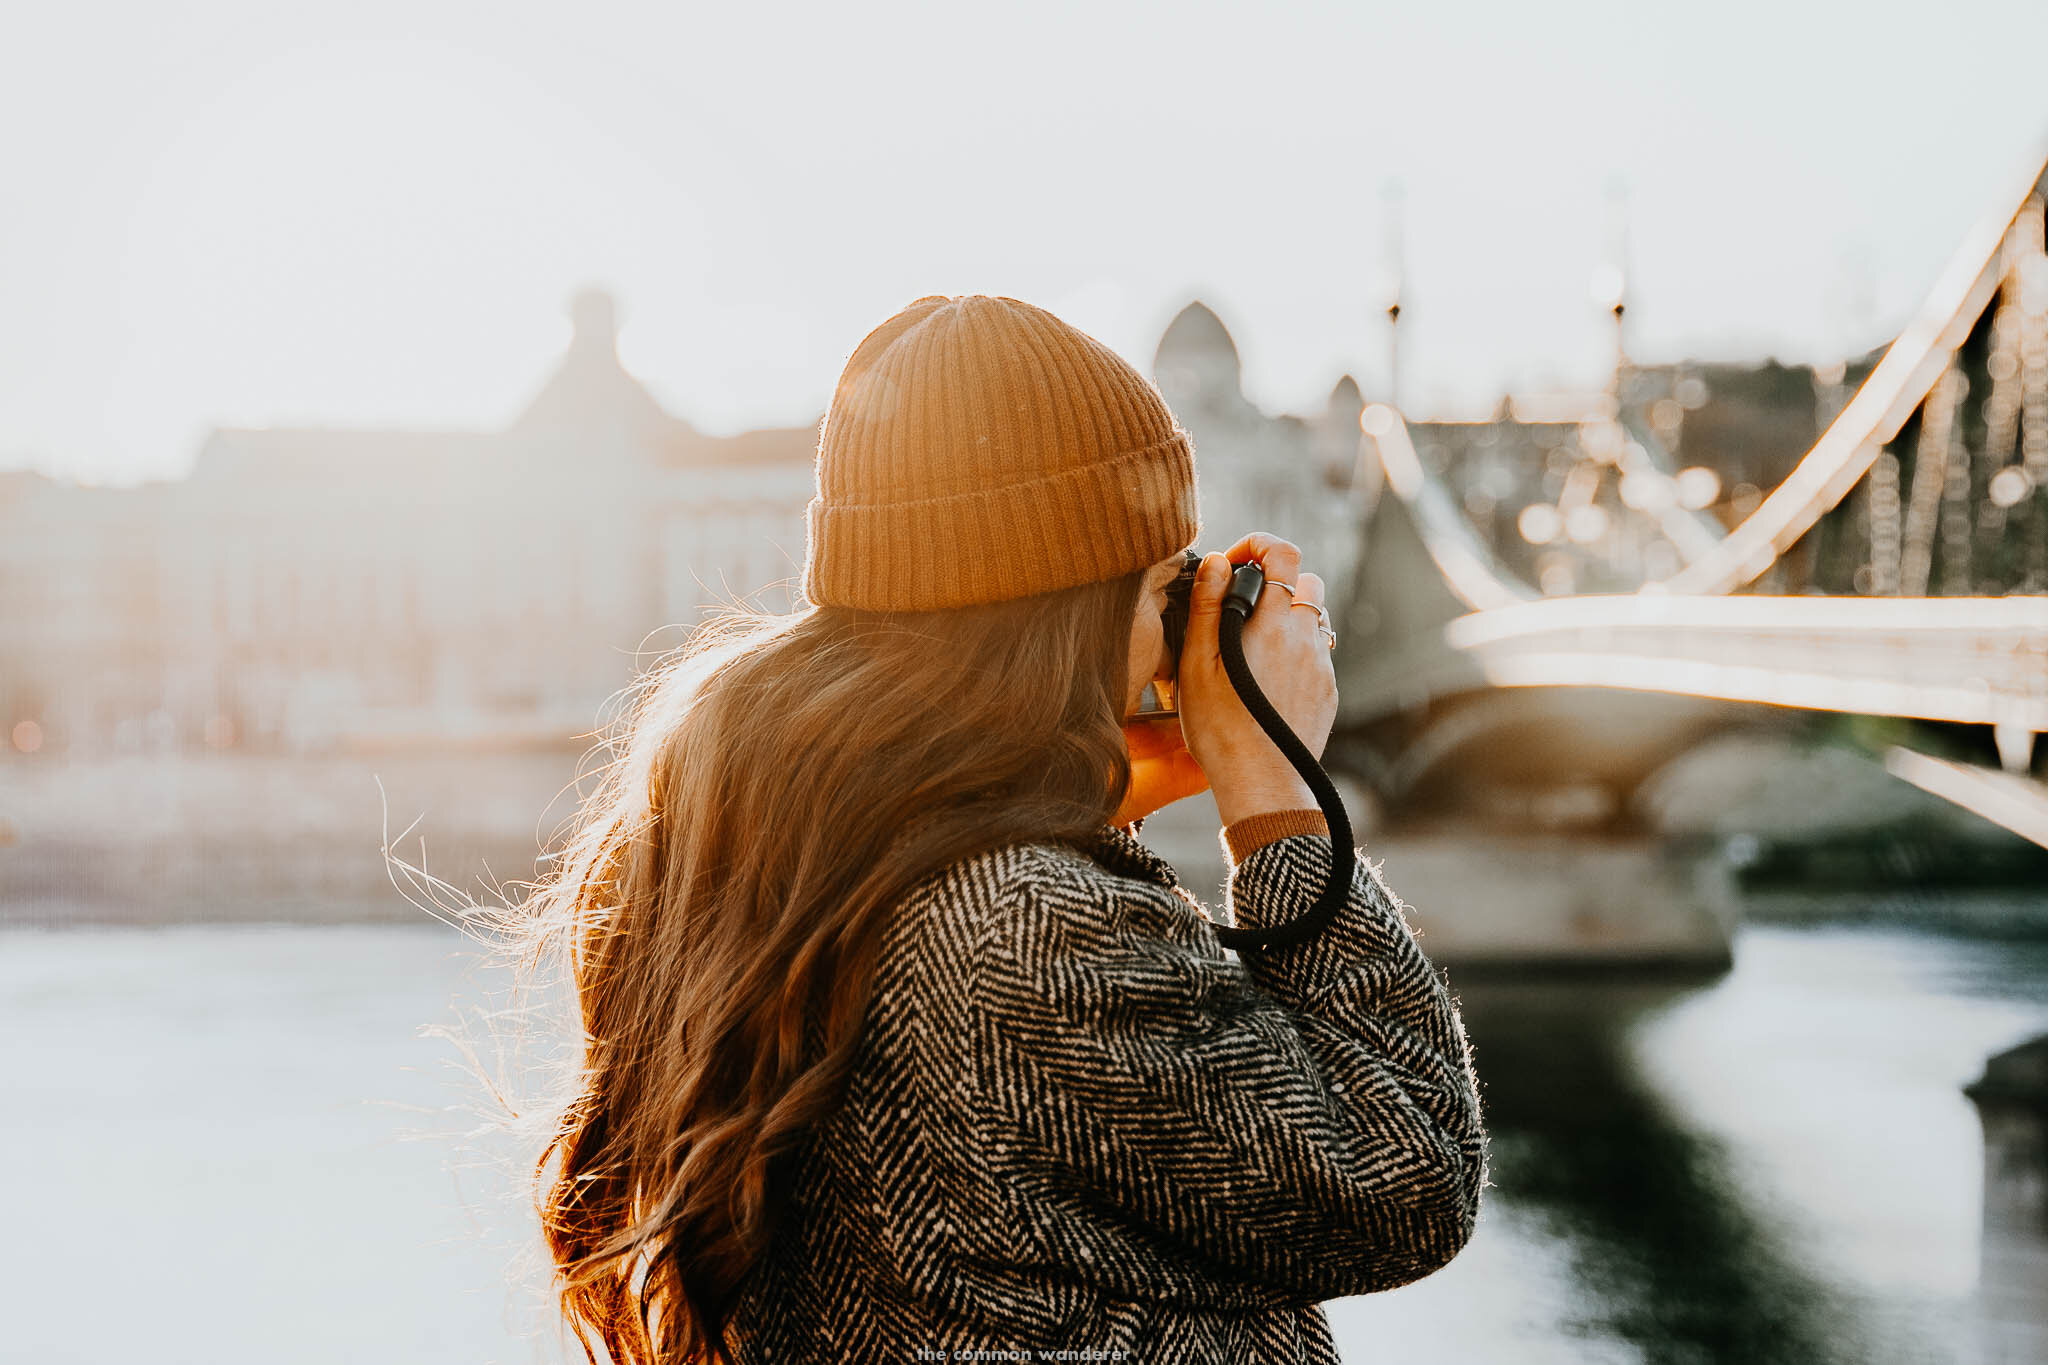
If there's one thing we're passionate about, it's documenting our life on the road through photography. Fascinating faces, far-off places, tasty foods and even tastier sunsets - all documented through our lens.
And while we love documenting our adventures, for a long time we really despised editing our photos. With limited experience, the process of photo editing in Adobe Lightroom was extensive and laborious. We spent hours staring at our computer screen, trying to manipulate and replicate colours, tones and feelings to bring an image to life, without achieving the desired outcome.
Through hours and hours spent learning our craft, and a few youtube tutorials in between, we're now extremely confident editing in Lightroom. Yay for us! We realised editing doesn't need to be that hard or time-consuming.
It just takes some pre-planning, a little practice/experience in Lightroom, and utilising presets to speed up your workflow and achieve consistently beautiful edits every time.
So that's why we created this guide - to help you guys achieve the best possible results when editing your travel photos in Lightroom. It's a step by step walkthrough of Adobe Lightroom (which you can buy/subscribe for yourself here) and includes ways in which to improve your workflow, speed up your editing, or understand how we edit using our custom Lightroom presets.
HOW TO EDIT IN LIGHTROOM | OUR PROCESS
WHAT IS LIGHTROOM?
Adobe Lightroom (LR) is an image organisation and editing software produced by Adobe, makers of Photoshop, Premiere Pro etc.
Basically, it's an all in one editing software that allows you to import, organise, edit and share digital images (RAW, JPEG, TIFF etc.) - it's what all the pros use to create the incredible images you see across Instagram and beyond.
The number one feature is the editing functions, which allow for manipulation in a number of key areas, including exposure, white balance, HSL colours (hue, saturation, luminance), colour grading, tone curve, presence/detail as well as lens corrections and calibrations. It also allows basic photoshop editing, such as spot removal and filter/tone adjustments.
Another huge benefit of Lightroom is the ability to import, organise, edit and export all your photos in one system, allowing for a super-quick workflow and consistency across editing. It's also non-destructive (as Photoshop is), meaning you won't need to save any edits - they'll automatically be kept in your Lightroom catalog with editing history.
There are two versions of Lightroom - Lightroom Classic CC, the bells and whistles editing software for desktop, and Lightroom CC, which is a more basic, cloud-based version that syncs with Lightroom Mobile (perfect for editing on the go). Lightroom Presets are also a huge component of Lightroom, and we'll touch on our editing workflow with our custom presets below.
But all you need to know is the Lightroom is the best photo editing software, and if you're serious about your photography, you need to get it!
BUY | Subscribe or Buy Adobe Lightroom here

LIGHTROOM CLASSIC CC VS LIGHTROOM CC
In 2017, Adobe decided to expand its offerings to include a Lightroom Mobile, which allowed for proper editing software on the go and revolutionised the photography editing game.
As a result, Adobe then released a cloud-based version of Lightroom called Adobe Lightroom CC, which synced up with Mobile. Thus two Adobe Lightrooms was born - Adobe Lightroom Classic CC, and Lightroom CC.
So what's the difference between the two, and which should you chose to edit your travel photos?
LIGHTROOM CLASSIC CC
Lightroom Classic CC is the old dog, full of all the features you need to create exceptional edits. It's desktop-based because its features need a powerful processor to function. It offers the rudimentary editing feature, such as exposure, white balance, HSL colours (hue, saturation, luminance), colour grading, tone curve, presence/detail etc., but also includes a whole host of features and customisations that professionals need.
We much prefer to use Lightroom Classic, as it gives us a far greater ability to edit and export our photography, and easily file and manage our 100,000+ travel images. We also much prefer the layout and design.
Lightroom Classic can be purchased on its own or as part of the Adobe Creative Cloud Photography plan, with both plans starting at US $9.99/month.
LIGHTROOM CC
Lightroom CC is the new dog, featuring a simplified and intuitive interface ideal for beginners, or those not too concerned with photo editing, but still want the ability to manipulate images or use presets.
The benefit to Lightroom CC is that it is cloud-based, offering the ability to sync across devices including your mobile (using Lightroom Mobile). Files and edits are automatically saved to the cloud, so if you're a travel photographer, this can be super helpful.
If you're new to photography and editing, use your smartphone mostly, or travel a lot and need to edit on the go (and save files in the cloud), we'd recommend Lightroom CC.
WHICH VERSION OF LIGHTROOM SHOULD YOU CHOSE?
Overall, we highly recommend using Lightroom Classic CC for your photo editing needs. It's more powerful with more features, and once you get used to it, it really opens up a world of creative possibilities.
That being said, if you can afford the Adobe Creative Cloud, having both in your arsenal is perfect.
Lightroom Classic is available as part of the Creative Cloud Photography plan, starting at US$9.99/month.
Lightroom Mobile, on the other hand, is a free program that you can download through an App store. You can also use presets on Lightroom Mobile!
RELATED | How to install Lightroom Mobile Presets

Adobe Lightroom Classic CC interface

Lightroom CC interface
BEFORE WE EDIT
Before we dive into how we edit our photos, there are a few things we think you should know. Firstly, to achieve our signature look and feel, we tend to shoot in specific settings to best help us achieve our desired aesthetic.
If you’re new to photography, read our beginners guide to travel photography here!
CAMERA SETTINGS
We shoot in manual mode, and recommend you do too - it gives you way more control over the image, and what you're trying to achieve creatively.
By learning shutter speed, aperture and ISO settings (the “exposure triangle”), you’re ultimately trying to properly balance your exposure. Depending on how you adjust your settings will change the look of your image, and how you approach your shot.
We mainly utilise aperture and shutter speed to give our images a creative aesthetic, bringing a scene to life with bokeh or shutter speed movements.
But overall, we tend to try to underexpose our images by one stop (or expose for the highlights) to retain RAW data which we can use in post.

SHOOT IN RAW
No matter where or when we're shooting, we always photography using RAW.
What is RAW we hear you say? RAW is a file format that captures all image data recorded by the sensor when you take a photo. Basically, it's not compressed like a jpeg is, so no data is lost.
This is super helpful when editing your photos in post, as you can manipulate your image to recover exposure, contrast, highlights, or shadows without a reduction in the quality of the image.
If you want to take your travel photography to the next level, shooting RAW is the best place to start.
UNDEREXPOSE YOUR IMAGES
Exposure is the brightness of your image and nothing beats a properly exposed image. If you overexpose, your image will be bright, and if you underexpose too heavily, your image will be dark.
However, in super bright situations (midday sun, golden hour), we recommend underexposing your image by one stop or so (-1,-2, or -3 instead of 0 if using your cameras light meter), or expose for the highlights (the sunset, or skin tones for instance), as you can retain more data in the image which makes editing far easier.
You definitely don't want to overexpose your images as it can be very hard to bring back parts of your image that are over-exposed or too bright.
When you start to edit, your image may look a little too dark, but trust us, all that retained data will be a godsend.
Here are a few common travel photography settings to nail your exposure:
Landscape during daytime | Shutter 500, f/9, ISO 100
Portrait during daytime | Shutter 1000+, f/1.8, ISO 100
Golden hour | Shutter 200, f/4, ISO 100
Blue hour | Shutter 80, f/2.8, ISO 800
IMPORTING AND ORGANISING OUR FILES
Organising your files is one of the most underrated elements of photography - simply dumping onto your hard drive and running is a surefire way to lose your files, and nobody wants that.
After five years of trial and error (and a few lost files!), here's our process for storing and organising our files.
IMPORTING
We start by importing the RAW images from our SD card to Lightroom and our computer hard drive.
We also select 'smart previews' on import. Smart previews are basically lower-res copies of the original photo (you can also select 1:1 copies if you'd like, but we find it takes up too much space), and allow you to continue to work on the files even when your SSD/External hard drive isn't connected. Once reconnected, any edits you make to the smart preview are applied to the original file.
We also utilise smart previews as an additional layer of protection against losing files - if you've created a smart preview and lose the original file, you can still utilise the smart preview version, albeit at a lower res.
Once we're finished with the project, we'll back up our files on a secondary external hard drive and delete them off our computer hard drive.

ORGANISING FILES IN LIGHTROOM
Once the import is completed, we'll go through and mark our photos from 1-5* - 5* being our best photos, three being possible photos for our blog, and 1 being photos we can automatically delete (these are usually overexposed, out of focus, or just bad photos!).
Once this is done, we'll create collections based on the destination, brand or photoshoot.
Under the main collection, we create a set of sub-collections for Instagram (5* images), Blog (3-5* images) and All - this just helps when we're trying to find images from a destination or shoot to share on our various platforms.
This process has taken a lot of refining over time, but we really find it easy to manage and intuitive for our business.
Some of our photographer friends like to create new catalogs for every shoot or destination, which can increase the speed of however we love to be able to access all of our photos at any one time. This does slow our Lightroom down, but whatevs.
SHOP OUR LIGHTROOM PRESETS
HOW TO EDIT IN LIGHTROOM
It's probably no surprise, but we edit each and every photo in Adobe Lightroom (which you can buy or subscribe to here).
In general, editing in Lightroom is incredibly subjective and many factors go into creating a final image that you like. For one, the camera sensor and colour technology, and RAW files can affect the overall colours of the image, as can the time of shooting (golden hour, for example).
But intangible elements can also affect how the final edit looks - how you felt when taking the shot, what type of colours and tones work with the destination or subject, can all affect an edit.
We're going to take you through how we edit our photos, based on our preset packs. Presets are custom settings used to create a certain feel or aesthetic to an image, through basic settings through the major colour manipulation.
We love using our custom presets as it speeds up our workflow and allows for our images to have a certain feel - our signature look if you will (contrasty, warm, rich colours!).
This isn't a one-size-fits all approach, but it's how we like to manage the editing process.
RELATED | Our guide to Lightroom Presets - what are they, and how to use them.
THE BASICS OF LIGHTROOM
Lightroom is super intuitive, which is why it's the editing software of choice for basically every professional photographer out there.
In the develop module is where all the magic happens. The right-hand panel contains all the important functions to create your masterpiece, including the basic functions such as exposure, contrast, highlights, shadows, whites, blacks, white balance, saturation/vibrance and presence.
There's also more in-depth panels including tone curve, HSL/Colour, Colour grading, detail, lens corrections, transform, effects and calibration.
It's also in this panel where you can crop and adjust your image, make any gradient or radial adjustments and spot remove any blemishes.
If you're new to Lightroom Classic CC or Lightroom CC, take some time to learn each element of the program, as it will help you create your own unique style.
PRESETS AND HOW TO USE THEM
Lightroom presets are image filters (that use a set of pre-saved settings) used to edit your photos to look brighter, richer, and generally more amazing on Adobe Lightroom Classic CC, and Lightroom CC.
With presets, it’s super easy to edit your photos (sometimes with just one-touch!) with certain aesthetics and colours which just aren’t achievable with other mobile photo editing apps such as VSCO.
Shop our presets here!
1. IMPORT AND ADD PRESET
As we said above, we love using our custom presets as it speeds up our workflow and allows for our images to have a certain feel. We start this process by importing our images and categorising them 1-5 on relative importance.
Once we've organised and selected our favourite images, we'll start the editing process. The destination or type of image will determine which preset we use.
We'll generally run through our presets to see which one works best for the photo, then select the desired preset.
2. ADJUST USING THE BASIC PANEL & TONE CURVE
Our editing style revolves around rich contrast, subtle tones, and warmth (depending on the location), so our presets are based on this style.
Once we've added our preset, we'll make minor adjustments in the Basic panel, which generally include:
Exposure | We'll adjust the exposure to brighten the image to our liking
Highlights | We always tend to bring down our highlights
Shadows | We tend to lift shadows slightly
Blacks and Whites | If needed, we'll adjust these slightly, although we focus more on the tone curve
Clarity | We like to bring our 'clarity' slider down to about -10 depending on the image, to give a softer, dreamier look
We'll then move to our tone curve panel where we'll adjust the shadows, mid-tones and highlights to our liking. Mostly, we'll bring up the blacks (shadows) a little, and pull down the highlights. If the image is too bright, we'll pull the mid-tones down slightly.

3. TWEAK COLOURS
Once we're happy with the exposure and overall look, we'll alter the white balance to fit the aesthetic we're after.
We then jump into the HSL (hue, saturation, luminance) panel. This is where you can make targeted changes to each colour in the image.
Mostly, it's the main primary/complementary colours we adjust, including oranges and blues to match the skin tones and reduce saturation. Depending on the location, we may change the hues to match reality (turquoise water, jungle greens etc.), but overall we like to keep the image naturally saturated, if not quite desaturated.
We'll then move to the Colour Grading panel (formerly Split Tone), where we make minor adjustments to the highlight, mid or shadow tones. This is where a lot of our unique preset style lives, so we don't tend to make too many adjustments unless we want to alter the tone colour or saturation levels.
Our presets are designed with colours in mind, so we don't tend to take too long to edit the HSL or Colour Grade.

4. SELECTIVE EDITS
Selective edits are adjustments made to specific areas of the image, such as spot removal, gradient or radial filters, or using the brush tool to make selective edits.
Basically, it allows you to target a specific area with adjustments without affecting the rest of the image, and it's a super powerful tool to take your photos to the next level. Selective edits can hugely transform your image, so we chose to not include these in our presets to allow for creative freedom.
We use this function in various ways, but mostly to draw the eye to the subject by using gradient filters to adjust any under or overexposed areas. We'll often use radial filters to bring out details in the eyes or to adjust the exposure around a subject (in a circular fashion). And we'll use the brush tool to 'paint' an area that might need adjustments - generally to brighten up a specific part of a subject (like a face), or to reduce clarity or exposure in certain areas.
If you want to learn more, we recommend this Youtube video.

5. FINAL ADJUSTMENTS AND UPDATES
Once we're done with the colours, we'll check over the image again and make any final tweaks, like adjusting the exposure levels, or making minor adjustments to colours.
We will also remove any distractions in the image, like people, rubbish or power lines. We'll either do this in Lightroom using the spot removal tool or jump into Photoshop (using Lightroom Classic CC only). Another easy alternative is the App TouchRetouch, which we've found works really well is intuitive for beginners.
If we want, we'll sharpen the image (or Fuji files definitely needed this!), add lens corrections and if we're feeling nostalgic or are after a filmic aesthetic, add grain.
6. EXPORT
It's finally time to export.
Crop your images for the required medium. For Instagram, we use the 4:5 ratio, so select the built-in Lightroom preset, then drag accordingly. This ratio is the best size for Instagram as it gives the largest 'surface area' on the feed.
For our blog, we actually keep the 4:5 ratio for any vertical images, but for landscape, we tend to use the 'as shot' function and crop the image with those dimensions. It's all about speed with our blog exports, as we tend to have so many images.
Depending on what you're exporting for will determine what settings you use. We've set up a range of export presets on Lightroom Classic CC for each of our mediums, including Instagram, blog, prints, and high res client work. It's super helpful, so we highly recommend setting up your own.
Here are our generic settings:
Instagram | 1080 pixels, resized to fit the short edge. Quality: 100, Resolution: 72, Sharpen: For screen
Blog Landscape | 1800 pixels, resized to fit the long edge. Limit File size: 400kb, Resolution: 72, Sharpen: For screen
Blog Vertical | 1080 pixels, resized to fit the short edge. Limit File size: 300kb, Resolution: 72, Sharpen: For screen
Client work | No resizing. Resolution: 300
We always limit the size of our images for uploading to the blog as page speed is important, and big images slow websites down considerably. Unfortunately, the quality does suffer, but we feel we've found a happy medium between size and quality.
Overall, the best resolution settings for the web are 72 ppi (pixels per inch), and 300 ppi for print.
You can save your export settings as a preset for the future by clicking “Add” under the preset panel on the left.

EDITING USING LIGHTROOM MOBILE
Editing using Lightroom Mobile can be super easy, especially with custom mobile presets (like these). Our mobile presets are designed specifically to use with Lightroom Mobile CC, so some of the settings have been altered to work better on jpeg photo.
Our mobile presets are designed to be used only with the Lightroom Mobile CC app, and are not compatible with the desktop version. Here’s how to install your Lightroom Mobile Presets.
Thankfully, the Lightroom app is free to download and you don’t need a subscription to use it. If you’re an Adobe Creative Cloud subscriber, you can sync your desktop and mobile accounts for ease of use (sign up to Adobe Creative Cloud here).
We follow the exact same process as above for editing our mobile photography. We apply the preset we feel works best, and then tweak exposure, warmth, and then tweak the white balance until a photo looks correct.
We find that if the skin tones look too orange even after changing white balance, desaturate the orange within the HSL sliders. You can continue to adjust the settings until you're 100% happy with the result, but realistically, it's the oranges and blues which are the hardest to master.
Once you're done, crop to the aspect ratio you're after (Lightroom Mobile has social media optimised export settings), export to Camera Roll, and post to Instagram, Facebook or your IG stories!
PHOTOGRAPHY TIPS, DIARIES + INSPIRATION
LIGHTROOM PRESETS | What they are, and how to use them, How to install Lightroom Mobile Presets
PHOTOGRAPHY | Love our photography? Wondering what gear we use to get all of our photos around the world? Click here to view our detailed photography gear guide, as well as our top travel photography tips!
SRI LANKA | 70 Incredible photos to inspire your Sri Lankan travels
FAROE ISLANDS | Explore the Faroe Islands through our photography
NAMIBIA | A journey through barren lands
BOLOGNA | A photographic tour of Italy’s red city
SWEDISH LAPLAND | 25 incredible photos that will ignite your wanderlust
BE INSPIRED | A photo journey through Sossusvlei, Namibia
NEPAL PHOTOGRAPHY INSPIRATION | 30 photos that will inspire you to visit Nepal
TRAVEL INSURANCE | Don’t leave home without travel insurance (seriously, don’t!). Click here to get the best deals with World Nomads, our trusted travel insurance provider
LEARN MORE WITH OUR PHOTOGRAPHY GUIDES


Thanks for reading our ‘How to edit in Lightroom’ guide.
If you choose to purchase using these links, we receive a small commission at no extra cost to you. Please know that by using these affiliate links, you're directly supporting The Common Wanderer to stay wandering, the running costs of the site, and our ability to provide you with free content to help you on your travels.
That, and you're officially a legend.